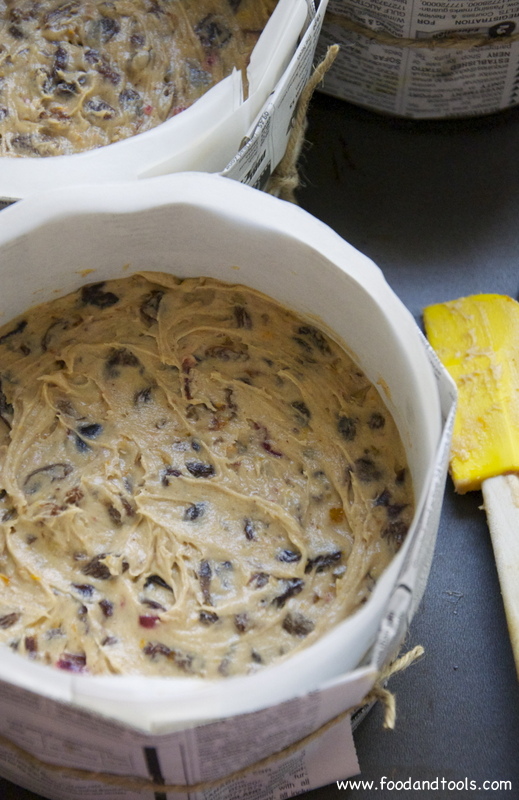
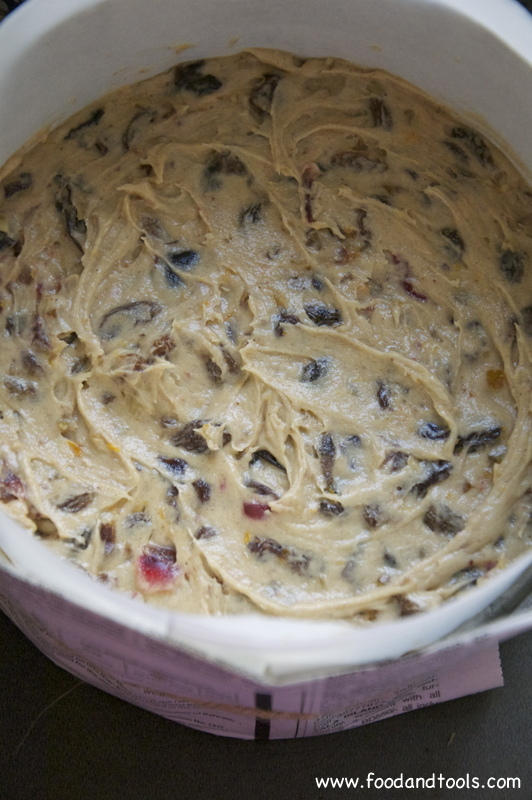
Around this time of year many fruit cakes are made, some baked with great success and others coming with tales of woe… sinking middles, burnt edges, over cooked, under cooked and sticking to the cake tin. As a child I learned a very important step when watching my mother measure and cut non-stick baking parchment and brown paper to line the insides of her cake tins. She would then wrap the outside of each cake tin with a collar of newspaper and tightly secure this with twine… all in preparation for the yearly ritual of baking fruit cakes for Christmas.

Fruit cakes baked for long hours need protection from the heat of an oven and correctly lined tins will turn out moist cakes, with no overly browned and dried out edges, tops and bottoms. Also, laying 3 sheets of newspaper on the rack or baking tray of an oven gives the bottom of your fruit cakes extra protection when baking. Newspaper can safely be used in an oven with fruit cakes baked at low temperatures.
However, paying attention to the temperature of an oven is also extremely important for successful baking. Over the years I have baked in many different ovens and know that some oven thermostats can vary. Using an oven thermometer will insure your cake bakes at the correct temperature and takes the guess-work out of knowing what temperature your oven might be running at.
So, if you love your fruit cakes… line your cake tins my Mama’s way and use an oven thermometer. By the way… no fruit cakes were ever harmed lining cake tins this way. Happy Baking 🙂
Lining Cake Tins Essentials:
- Good quality baking tins (still using my mothers cake tins)
- Non-Stick Baking parchment
- Brown Paper
- Newspapers
- Pencil
- Scissors
- Ruler
- Paper clip (if you have no one around to hold the collar of newspaper in place while tying with twine)
- Measuring tape
- Twine
- Pastry brush
- Unsalted butter, melted
Lining a round or square cake tin:
You will need to line the inside of a round/square cake tin (sides and base) with three layers, one layer of brown paper and two layers of non-stick baking parchment. If you do not have brown paper, use non-stick baking parchment instead.
Start by measuring (with measuring tape or string) around the outside edges of the cake tin. Using the measurement, cut a double-folded strip of non-stick baking paper, this should also be wide enough to extend 3 inches above the top of the cake tin. Fold down a 1 inch deep cuff along the length of the strip, then make diagonal cuts up to the fold line, about 3/4 inch apart. Repeat the same steps with a single layer of brown paper.
Lay a square/round cake tin on top of a double piece of nonstick baking parchment and using the cake tin as a guide draw around it. Cut out the circles/squares. Repeat the same steps with a single layer of brown paper.
Lightly brush the base and inside of the baking tin with some melted butter. Starting with the brown paper, line the inside sides of the cake tin with the brown paper strip, pressing the cut edges out at right angles and laying them flat against the base.
Lightly brush the brown paper with melted butter and line the sides of the cake tin with the double strip of non-stick baking parchment, again making sure the cut edges are lying flat against the base of the tin.
Lay one circle/square of brown paper, followed by two circles/squares of non-stick baking parchment over the base of the tin, you might need to trim them slightly so they fit snugly against the edges of the tin.
Measure and cut a double strip of newspaper to fit around the outside of the cake tin and tie securely with twine.
Do you have any tips on lining cake tins?

You must be logged in to post a comment.